Showing posts with label Resin. Show all posts

Sunday, 11 February 2024

6 Essential Resin 3D Printer Accsessories

I have been resin 3D printing for almost 2 years now and here are a few of the bits of kit which I have found to be invaluable.

Essential Resin 3D Printing Accessories

Plastic Razor Blade Scrapers 

Nothing gets a blob of resin off your LCD screen better than a plastic scraper.  They don't damage the surface and they are cheaper than actual razor blades.  You can also use them to pry your prints off the build plate and they are disposable so no need to clean them.

Once you have these, you will find they have a multitude of uses around the house for all those DIY projects that they were actually designed for.

Spare FEP film

You never want your printing to be sidelined by a dodgy FEP, so having a spare film is essential for when the inevitable happens.  Changing out your FEP is just one of those skills you will need to master.  Some say that you can tune your FEP for optimal performance, but I just use the German specification gudentight.    I recommend buying from 3DJake.

3D Printer FEP Film

Fun Fact: FEP is an acronym for Fluorinated Ethylene Propylene.

Silicone Baking Tray

Resin 3D printing is a messy affair, particularly when you are extracting your prints from the build plate.  It is hard to not drip uncured resin onto your table, so I use a silicone baking sheet as a table protector.  

Nothing sticks to silicone and these mats are super easy to clean and so cheap that you can cover an entire table in the things and still have change from a tenner (£10).

PTFE Lubricant (GT85)

Every now and then you will suffer from a print that just wants to stick to the FEP rather than where it is supposed to stick, the build plate.  The best thing I have found to combat this is to give your FEP a good spray with GT85 and a gentle rub down.  This creates a microscopic PTFE layer on the surface of your FEP guaranteeing that the print will release when the build plate rises.

Everytime I change resin, change my FEP or just engage in a spot of cleaning, I give my FEP a liberal coat and then buff it dry.  GT85 will change your success rate instantly, no more failed prints, bits stuck to the FEB or layer peeling.

Plastic Funnels & Conical Paint Filters

Trying to pour your unused resin back into the bottle is a nightmare task made tolerable with the use of a funnel.  Get some conical paint filters to strain out any bits of cured resin and your life will be so much easier and less messy.

The pound store is your best bet for funnels.  You can get a bunch of filters for pennies at the usual online retailers like eBay or Amazon.  A big shout out to Jayo3D who pack 2 or 3 filters in with their 1Kg bottles of resin.

Two Wash & Cure Station Tanks 

It wasn't long into my resin 3D printing journey before my wash tank looked like a winter's morning.  This occurs when the uncured resin suspended in your IPA cures and fall to the bottom of the tank making an amorphous plastic blancmange.  Honestly, this stuff is horrendous to deal with, so having a second wash tank that you can decant into and clean your IPA is a must.  I have found that running a few curing cycles on an empty tank can work wonders. 

Sunday, 1 January 2023

Jessie's Prints - Episode - 23 - OMG Akira is 40!

Today I learned that the classic Anime Akira is 40 years old.

Thanks to Katsuhiro Otomo for bringing this groundbreaking work to life and making such an impression on me as a teenager. 

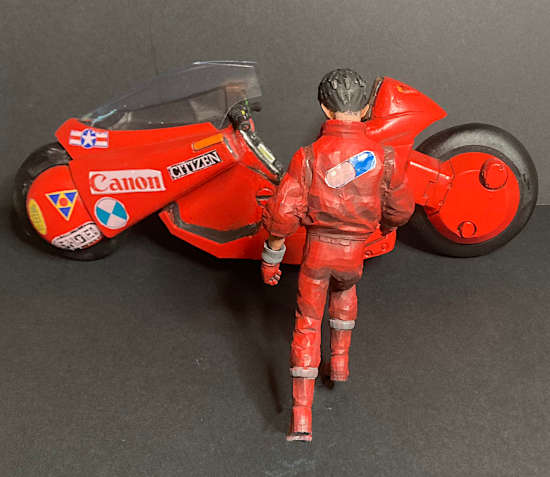
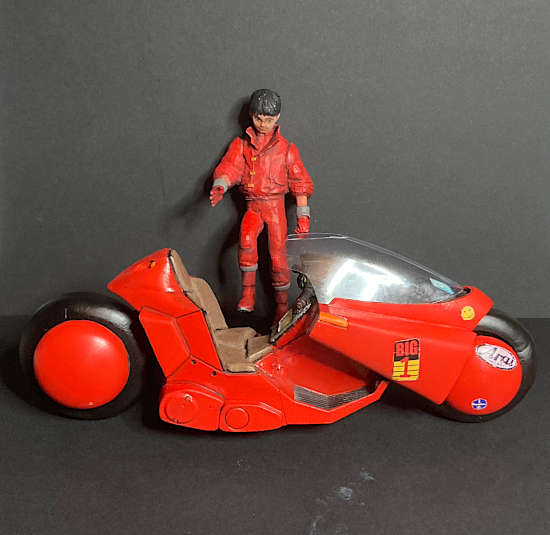
Fortuitously this coincided with the completion of my 3D Printed Kaneda Bike model which I began back in July not long after I got my resin printer..

Akira Kaneda Bike 3D Model - Poster

Akira Kaneda Bike 3D Model

Where can I download a 3D Akira Bike Model?

Well handily you can download this model from Thingiverse

Life is a Journey not a Destination

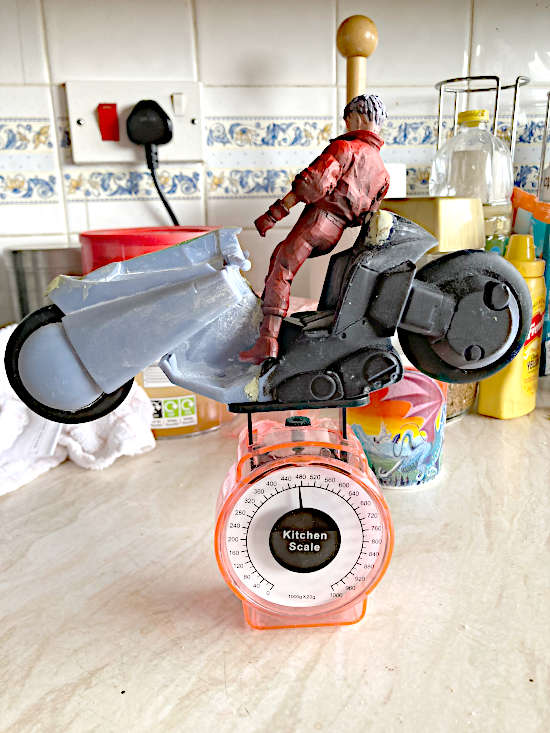
This is a big model meauring 9 inches long and 3.5 inches tall and Kaneda is 4.5 inches tall, so too big for my Photon Mono 4K.  I had to slice each half of the bike using Meshmixer and in hindsight I should have hollowed it out because it used up a huge amount of resin.  

Akira Kaneda Bike in progress

The sheer weight of the parts of the bike (480g) or the way I positioned it on the bed created some defects with tearing of the seat on the left side and the right rear tear drop and seat being mishappen.

480g of Resin Akira Bike

It was a major job to get it all aligned and fitting nicely and if I had my time again I would probably scale this model down a touch.  I followed the glue-up with some milliput to gap fill and a lot of sanding.  I decided to reslice the control panel as the misalignment of the join between the parts was just too much for me to bear and I'm glad I did.

Kaneda came out great on the first try but I had to reprint his right hand after the fingers broke off during painting.  Kaneda is a bit low poly compared to the bike and I guess that few people bother to print the figure as a result.  Rescaling may also fix this issue to some degree but I would definitely try to learn how to smooth out those facets in blender or meshmixer.

The Future is Clear

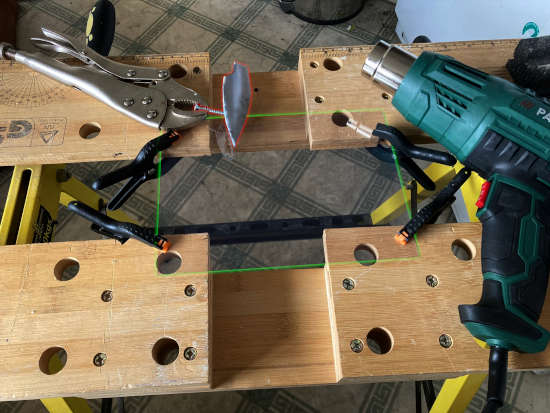
The next challenge was to make the canopy without the use of a vacuum former.  I printed out the supplied canopy and then filled the inside with milliput.  With a screw driven into the milliput I created a sort of buck (red) which I could hold with a pair of molegrips.  I then clamped a piece of acetate (green) in my workbench and heated it up with a hot air gun (Thank you middle aisle at Aldi).  

Sketchy Heatforming Canopy of Akira Bike

When the acetate was sufficiently hot and drooping I plunged the buck into the acetate.  Overly dramatic? Perhaps, but this is seat of your pants modelling and, despite it being a completely sketchy process, it worked amazingly and I got a stunning result on only the second try.

It Ain't a Picasso

Painting was surprisingly pain free with the bulk of the work done with automotive rattle cans and plenty of masking tape.  Touch ups were done by spraying the paint onto a card and then brushing onto the model.  Surprising effective thanks to the self levelling nature of rattle can gloss paint.

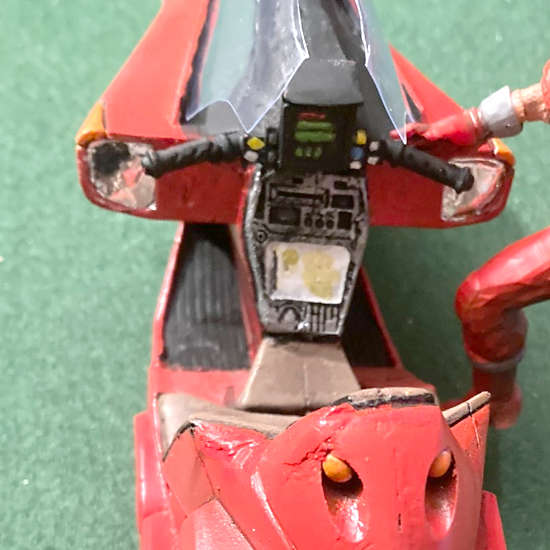
Panel gaps were lined in dilute black acrylic and the detail work on the dashboard buttons and screens completed in short order.

Akira Bike Dashboard

Stickers or Decals?

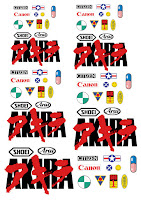
IMHO an Akira bike without decals looks wrong so I scoured the internet to find decent images, harder than you might think, purchased some white decal paper.  You won't believe the hours I spent deciding if I would go with the poster version solo pill logo or the "Good for Health Bad for Education" roundel version for Kaneda's back patch.  I borrowed a laser printer (thanks Paul) and printed up a sheet.

What a nightmare!!! The laser copier couldn't cope with the decal paper and it made a right mess.  I briefly contemplated printing out a set on sticker paper, my rational being that in-universe these are actually stickers applied by Kaneda himself.  I persevered and managed to cobble together a set I was reasonable happy with.

The process of application was also troublesome with some of the toner coming off and the decals wrapping back on themselves.  If anyone has tips on making your own decals please pop a comment in the box below.  If you want to download the Akira Bike decals please feel free.

Download Akira Bike Decals

Final Touches

I scratchbuilt a headlight lens from plasticard and the indicators got a lick of paint.  Necessity is the mother of invention and, when it came to the mirrors, I turned to the foil inside a crisp (chip) bag.  Yes, trash went into the making of this model.

I'm pretty pleased with the end result especially given that this is the first really big model I've scratchbuilt.  There are some things I would do differently like creating two decals for the dashboard.  There are somethings I might go back and fix like adding some neon piping around the tyres.  It's never ending really, but for now (at least) I have stuck a fork in this project, I'm done.

With all modelling it's less about the finished article and more about what you learned and how you stretched yourself along the journey.  Please feel free to share links to your own modelling stories in the comments below.

Sunday, 31 July 2022

Jessie's Prints - Episode 22 - Some Stuff For Friends

This week, I are mostly been printing...  Stuff for Friends

Bigby's Sign of the Horns - Thingiverse 4048680

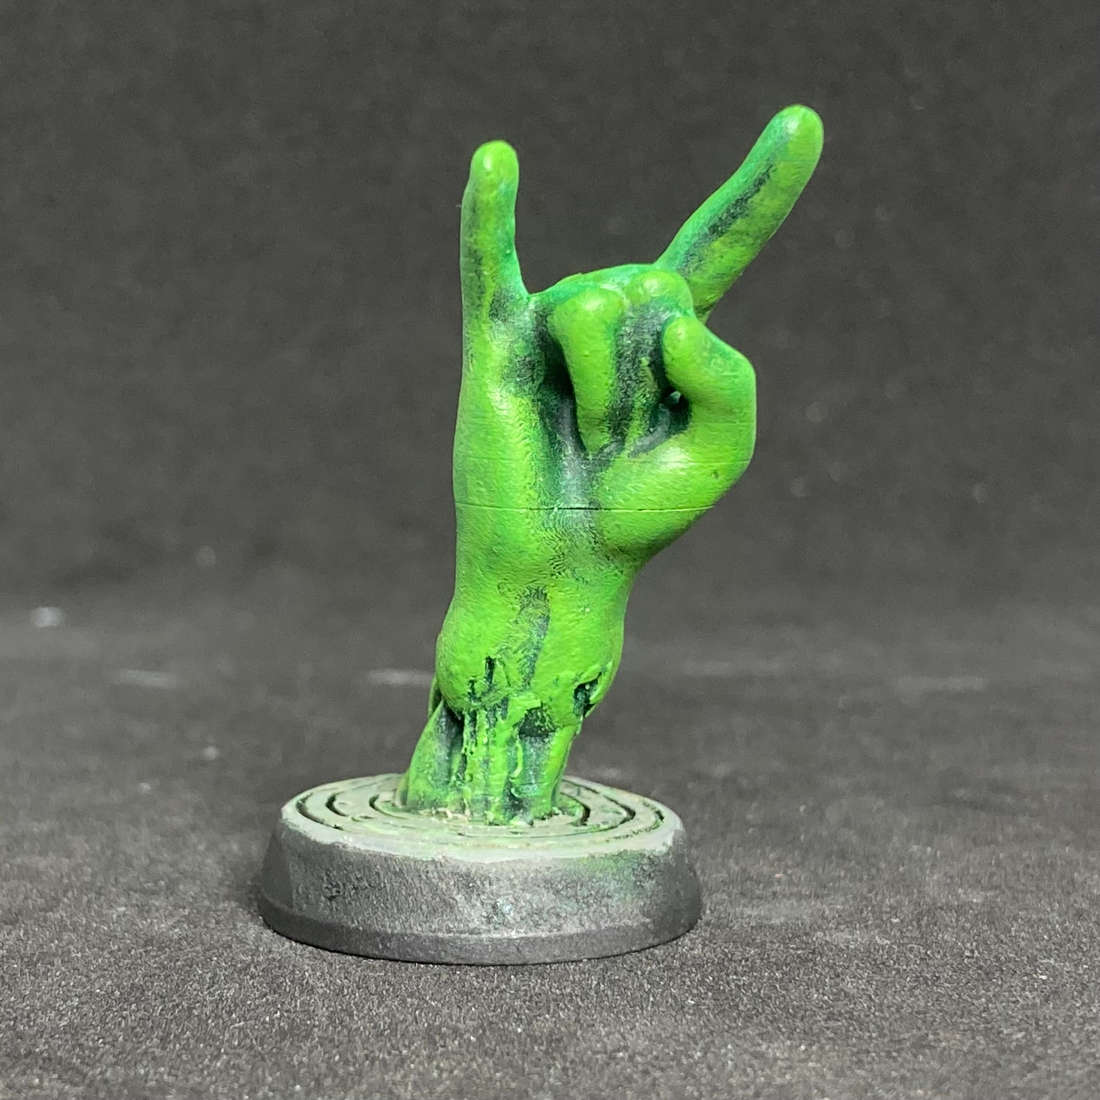
My current DM Mark is a bit of a metalhead and in honour of his awesome DMing I printed him this equally awesome spell effect for the famous D&D spell Bigby's Hand.  I hope I get to see it in play in the not too distant future. 

Bigby's Sign of the Horns

Baby Yoda Lithophane - Thingiverse 4073323

Printing a Lithophane has been high on my agenda for some time and as I was due to meet my 3 old work pals from the Ministry of Defence what better way to celebrate our reunion after Pandemic.

Baby Yoda Lithophane

This has been my biggest resin print to date and I really wanted to push the printer to see what it could do.  I am blown away by the mid bending properties of Lithophanes and how, on a budget resin printer, I can make photorealistic 3D art.  

Amazing and definitely fits into "optical Illusion" territory.

Displacer Kitten and Displacer Beast - Thingiverse 4830184  / My Minifactory

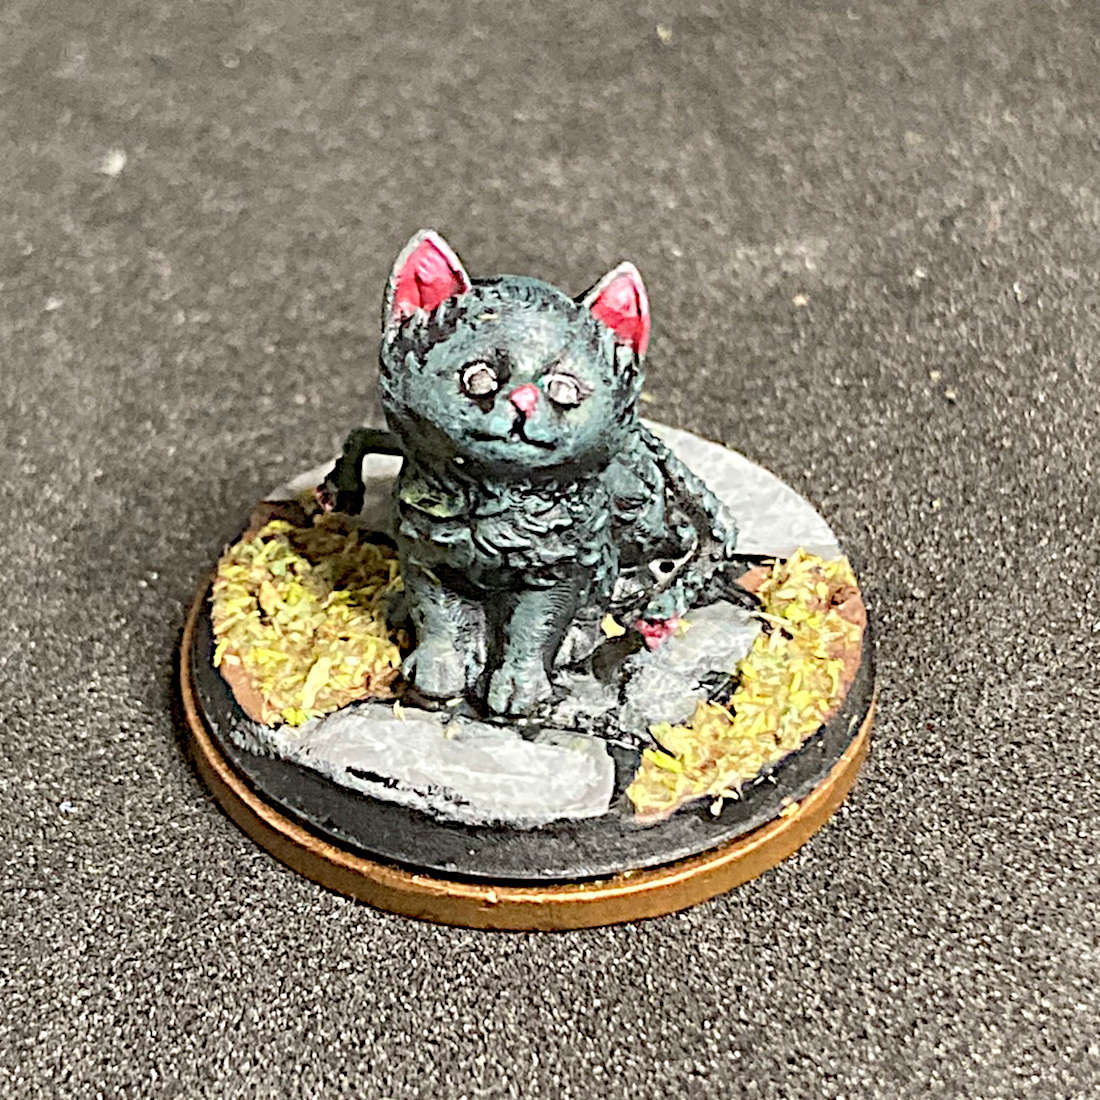
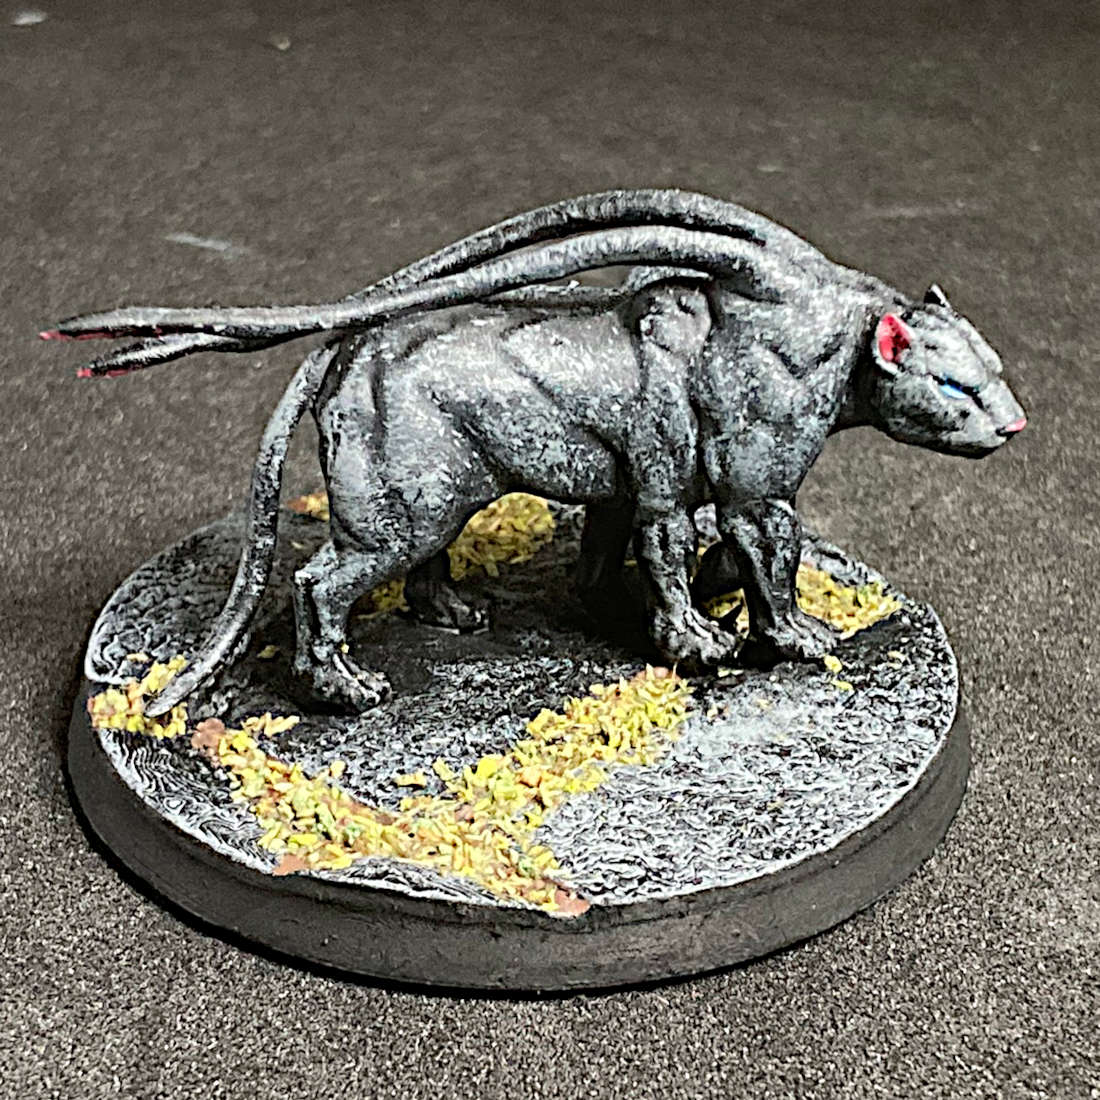
Fellow Dragons Keep member Kat told me that her DM had recently gifted her a Displacer Kitten as a moving-in gift so I quickly sourced this super cute mini and an equally awesome displacer beast to represent the kitten when fully grown.

Displacer Kitten

Displacer Beast

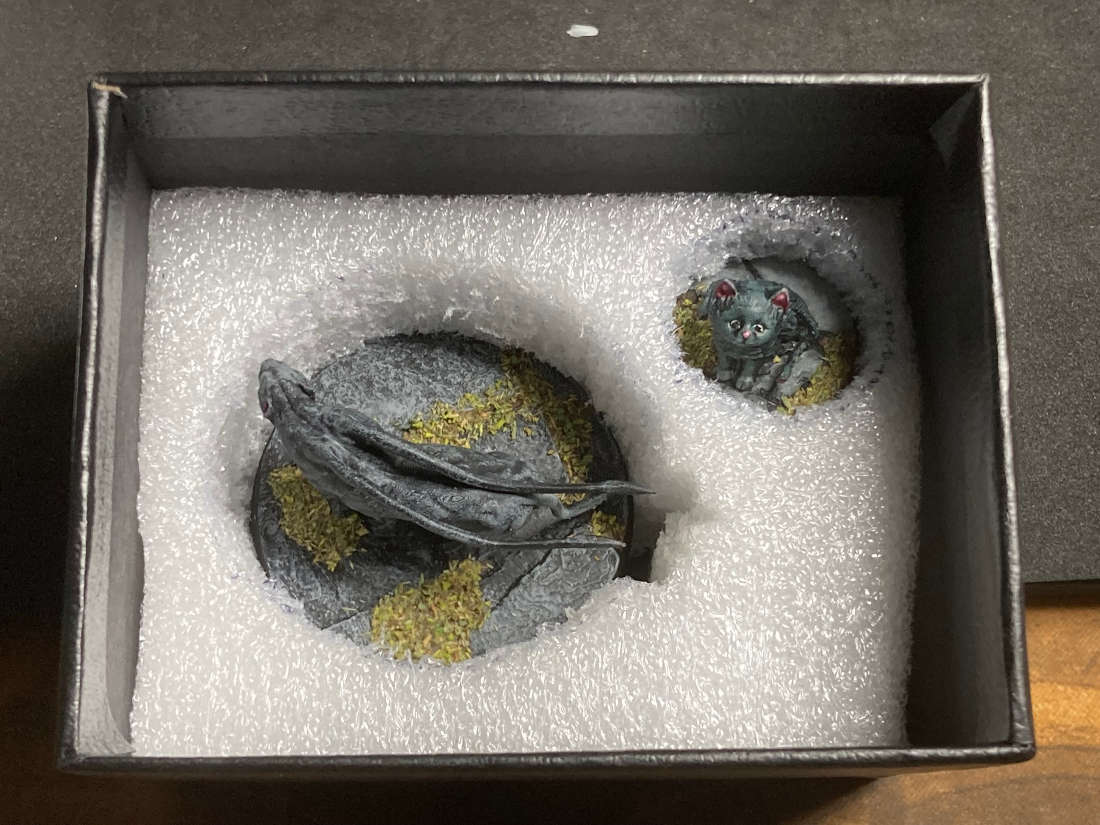
Of course no birthday gift can come without a presentation gift box and my old 3D Printer sacrificed some of it's foam packaging for a custom box.

Displacer Beast Gift Box

Saturday, 30 July 2022

Jessie's Prints - Episode 21 - Some Characters

This week, I are mostly been enjoying printing some characters I found on the interweb.

The Dungeonmaster - Thingiverse 3850163

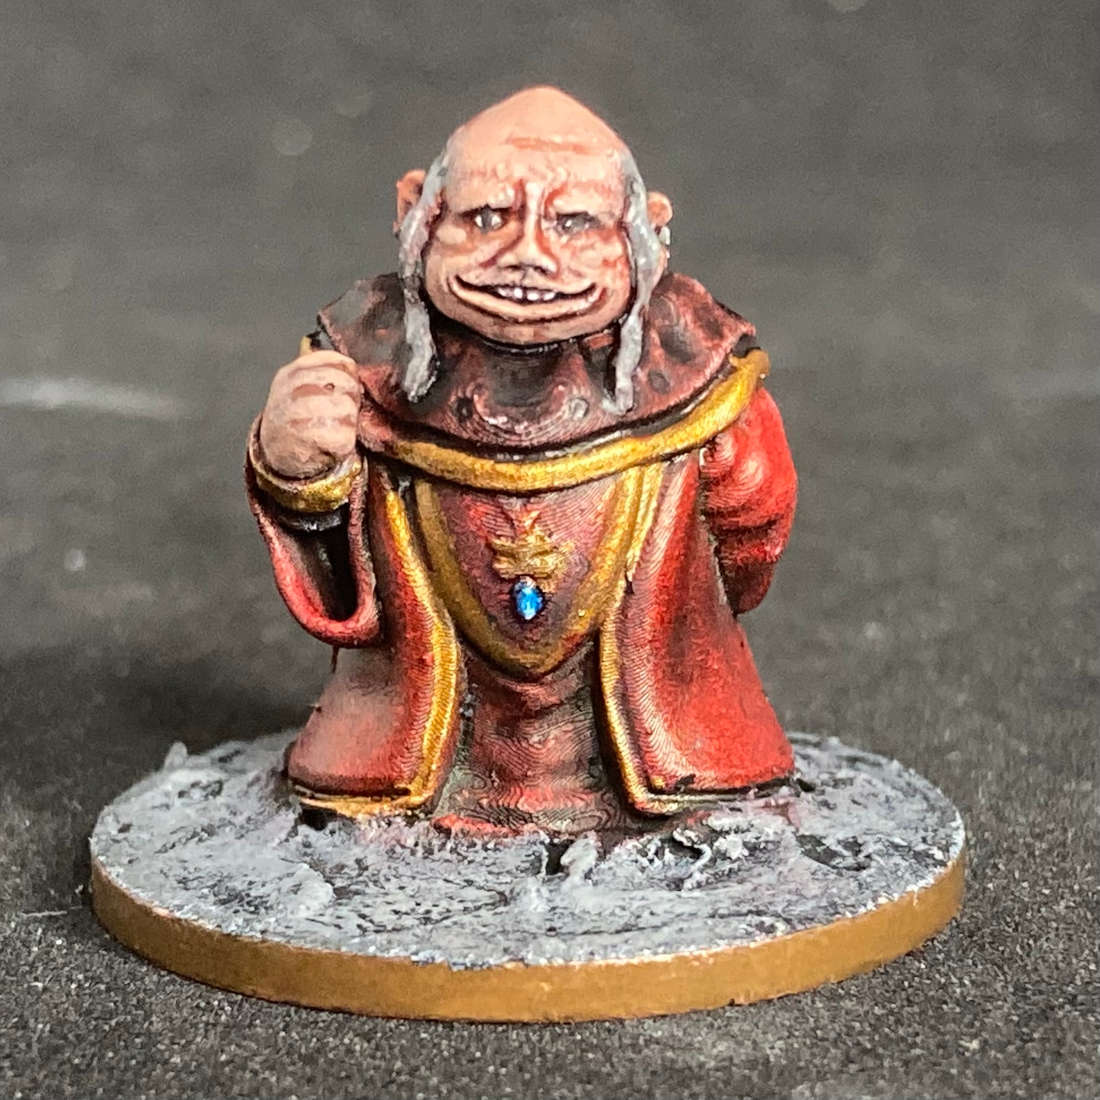
People of a certain age will instantly recognise this little fellow.  He looks harmless enough but back in the 80s he kidnapped a bunch of American kids and put them through all manner of trials and fights against dragons and monsters.  Today's generation would have none of his nonsense I am sure.

The Dungeonmaster

If Hollywood is listening, someone please make a live action remake of the Dungeons and Dragons cartoon.  It will be a guaranteed hit.

Bender "Bending" Rodriguez - Thingiverse 32188

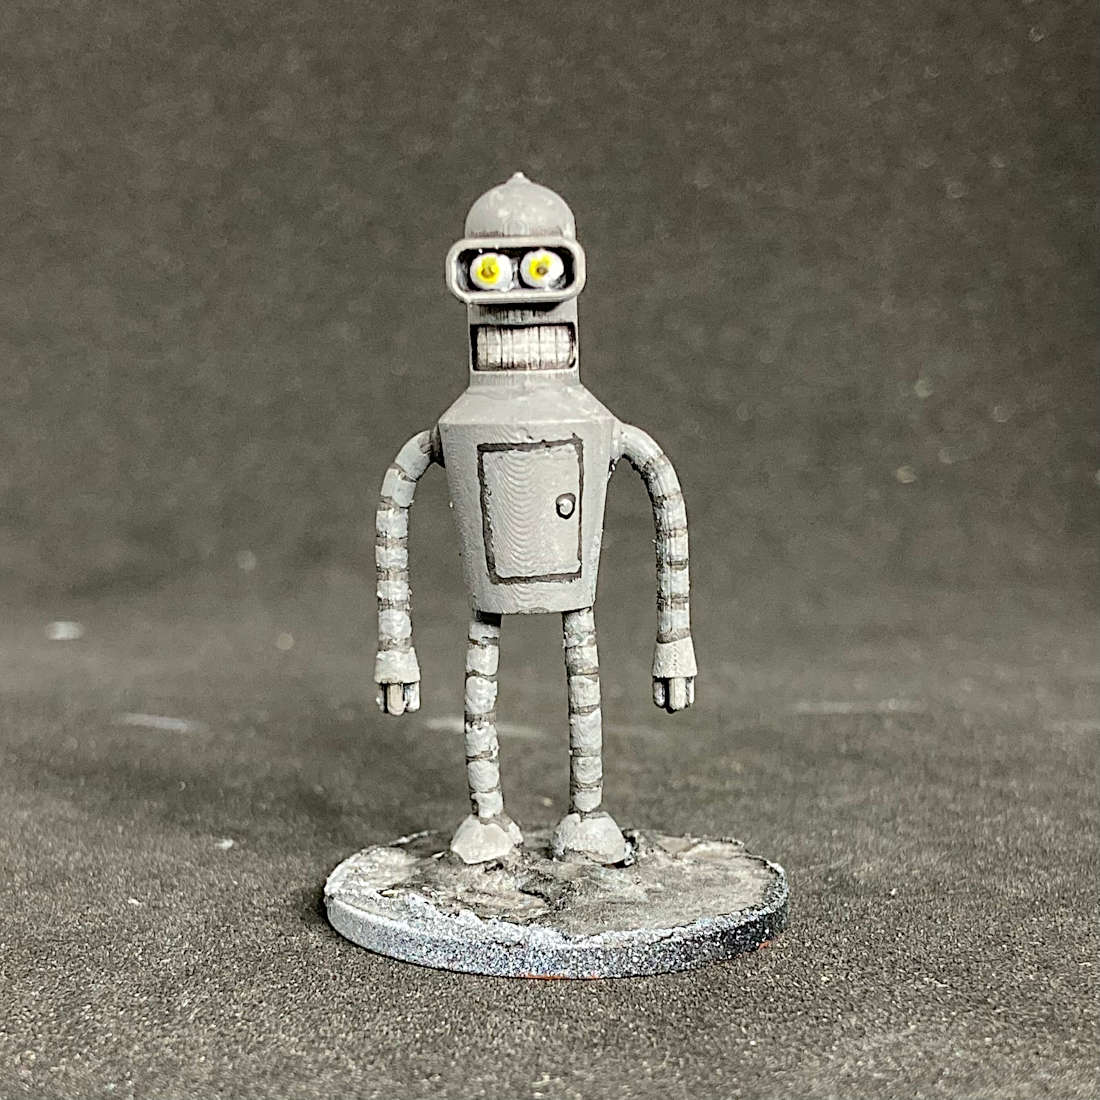
There  are a lot of Futurama models out there (I do want to print a cosplay brain slug and a Planet Express) but having a Bender miniature means I can keep those anoying meat bags at bay.  I needed to scale this one down and poor Benders antenna was just too fragile at that scale. 

Destroy all humans!!

Bender "Bending" Rodriguez

The Monster and The Bride - Thingiverse 3782040 and 3844313

In a previous episode I printed the mad scientist Dr. Frankenstein and his able assistant Igor.  It would be churlish of me not to include his two most famous creations, the monster and Frankenstein's Bride.

Both these sculpts are by GloomyKid on Thingiverse who seems to push all my buttons when it comes to the models he chooses to sculpt.  Awesome work dude.

Frankenstein's Monster
The Bride of Frankenstein

Tuesday, 21 June 2022

Jessie's Prints - Episode 20 - Cthulhu Characters

This week, I are mostly been answering...  The Call of Cthulhu

Victorian Tough with Dog - Pinshape 48509

I know our current Call of Cthulhu game is set in 1923 but who can pass up on the opportunity to print out a tough guy villain and his dog?

Victorian Tough Guy with Dog

Pirate Pugilist - Thingiverse 3981631

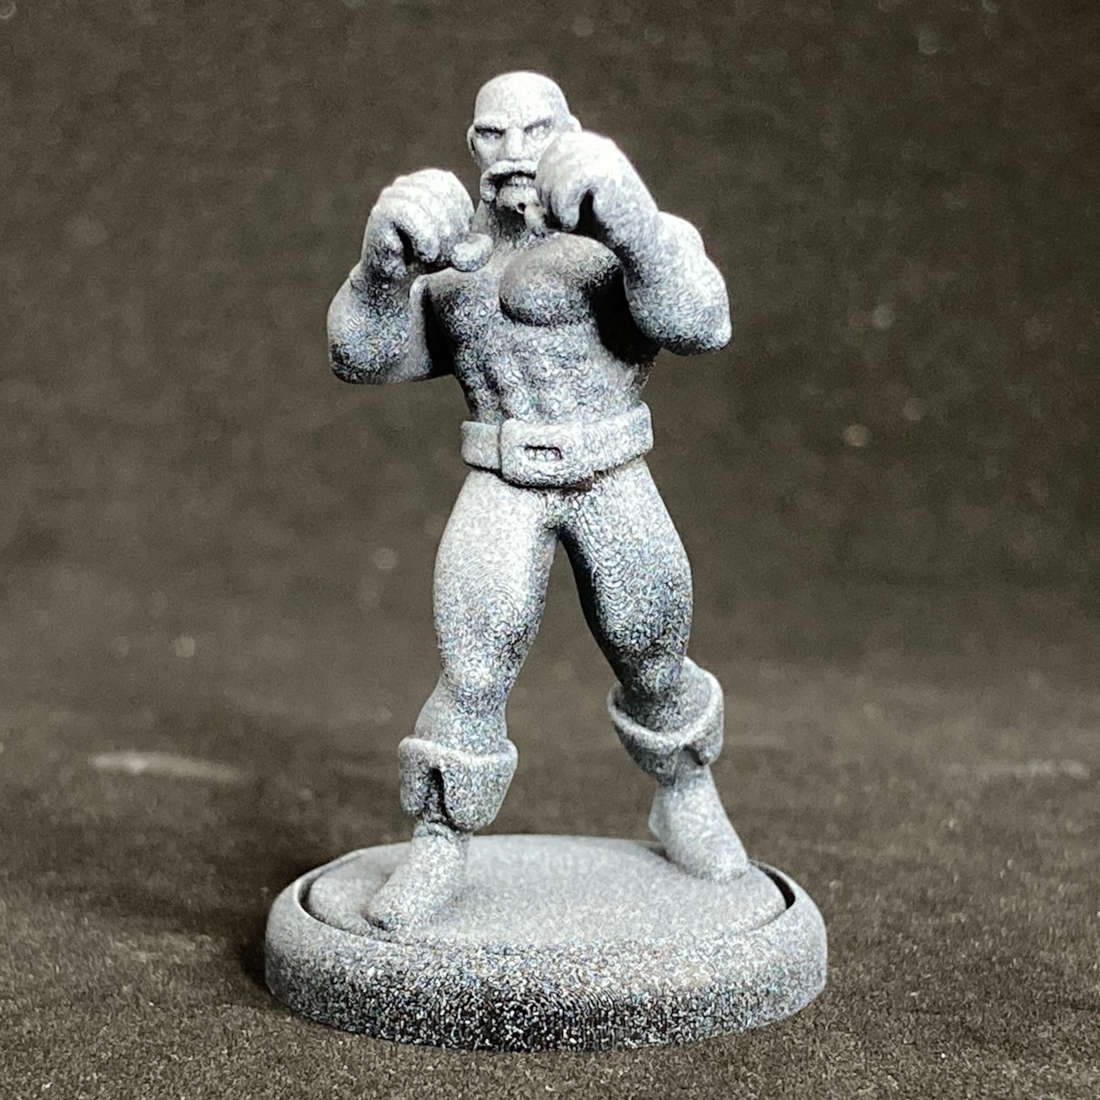
Sam is playing an east end ruffian called Chester "Pretty Boy" Lyle.  A bareknuckle boxer Chester bears the scars of hundreds of bouts in some of the seediest dives that London's docklands have to offer. 

Barenuckle Boxer (Pirate Pugilist)

The Colonel - Thingiverse 3107434

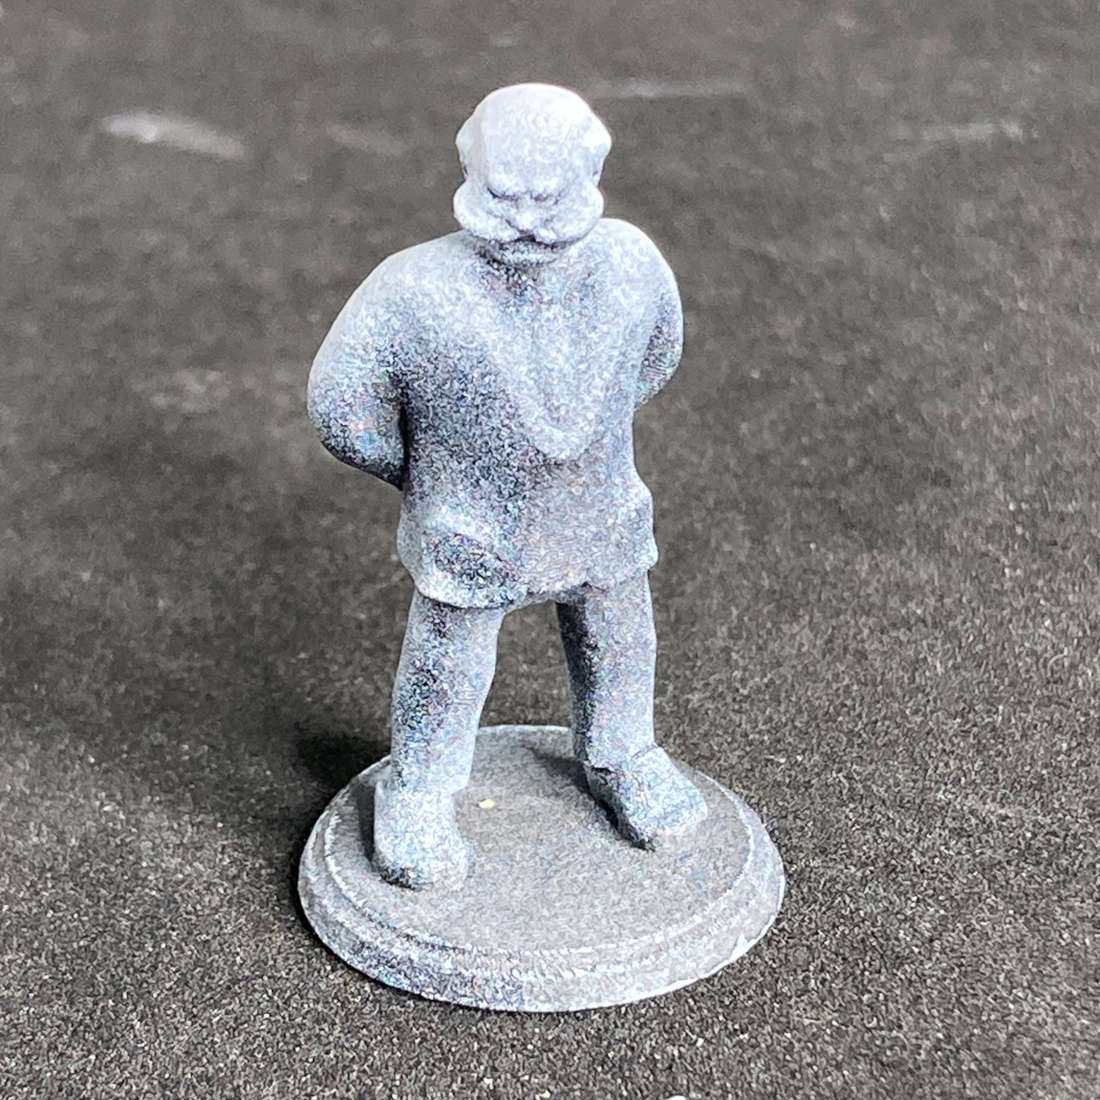
Usually found sleeping in his easy chair in The Garrick Club, Colonel St.John Smythe saw plenty of action in his youth fighting for Queen and Country across most of Africa.  He now earns a well deserved retirement and occassionally tells of his exploits across the dark continent to anyone who will listen.

Colonel Mustard

Dr. Frankenstein

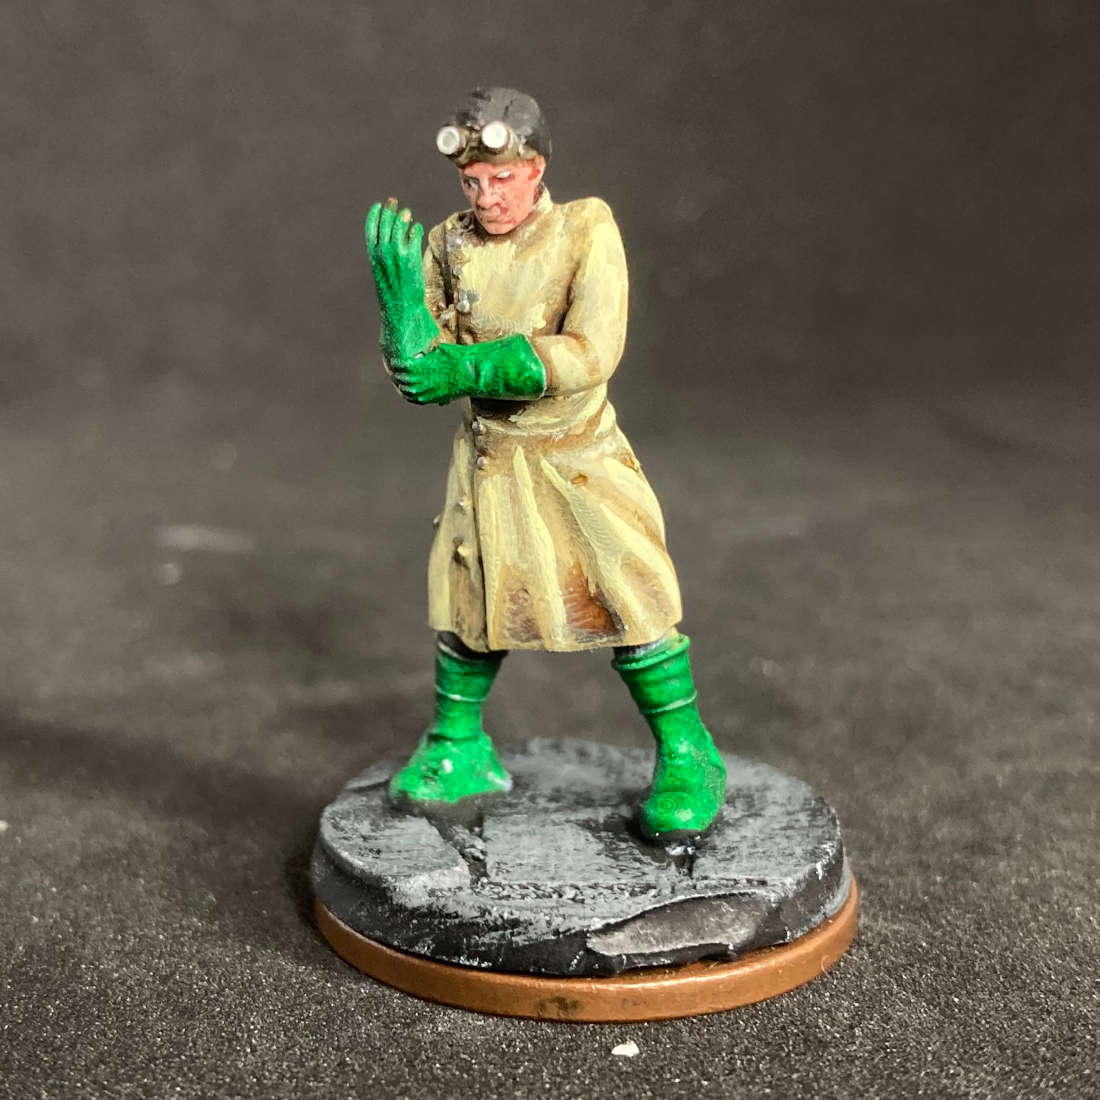
Victor Frankenstein needs no introduction and wasn't intentionally looking to build up a collection of classic horror minis, but when I found this one I just had to download it.  From sculptor Roman Bevza, I just love the pose and especially the action of pulling on of the rubber gloves.

Victor Frankenstein 

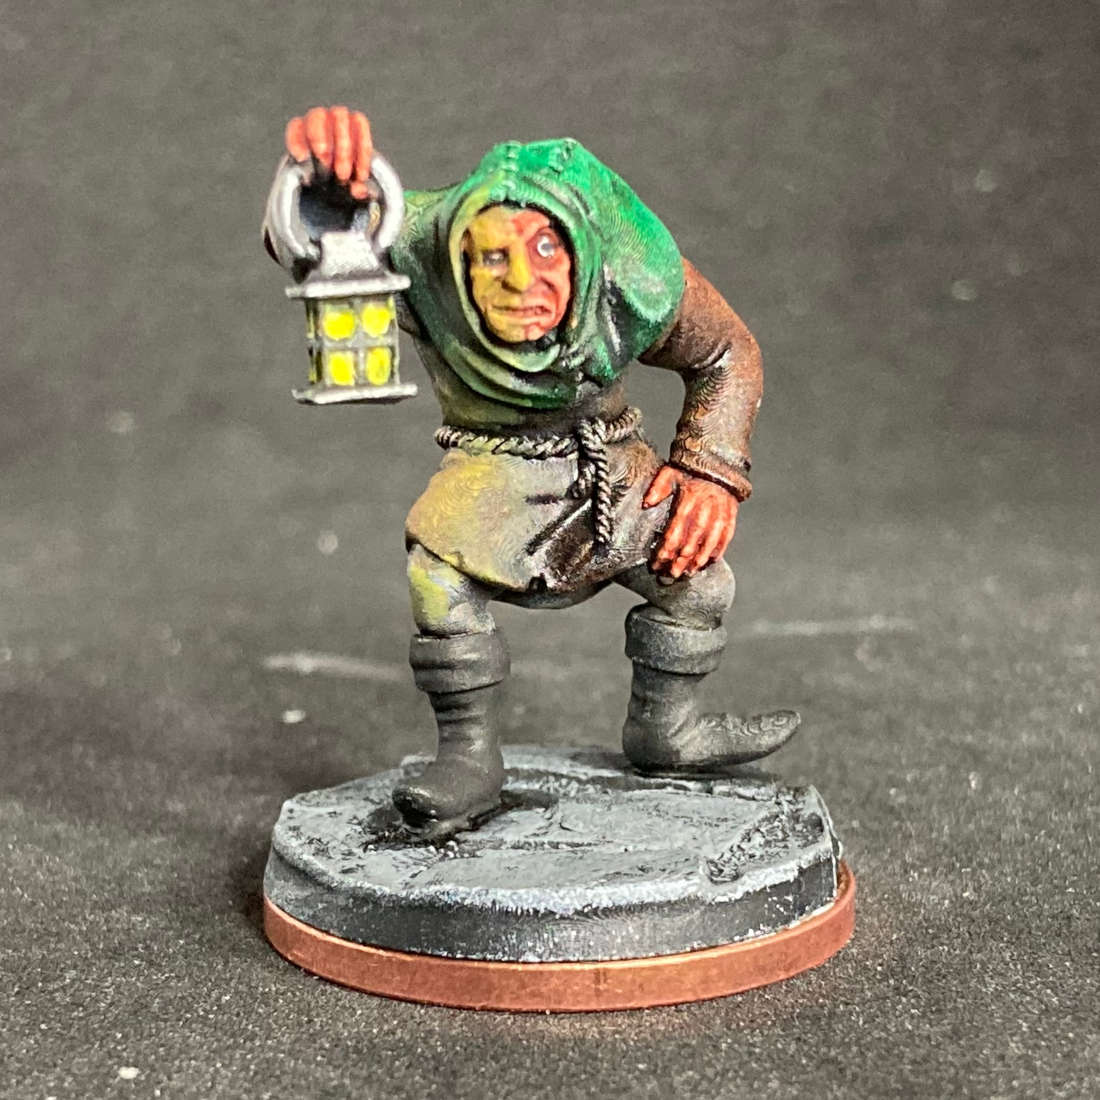
Frankenstein's erstwhile and capable manservant is another of Roman Bezva's creations and of course I had to print him aswell.


Igor

Private Investigator - Thingiverse 4231499

Steve is playing a retired policeman turned private investigator by the name of Ryan Wurmshurst.  No case is too small and his rates are very reasonable.


Private Investigator

Researcher - Thingiverse 4499796

Every Cthulhu game needs a character with excellent research capabilities who can answer the call for "Library Use".  At the moment this is the stand-in for Thelma "Ginger" Purdey, our courageous girl about town.  I am currently on the hunt for a more appropriate miniature.

Botanist Academic

Tuesday, 14 June 2022

Jessie's Prints - Episode 19 - Free Files Galore

This week, I are mostly been enjoying printing free pre-supported files I found on the interweb.

Truth be told they found me really.  I was approached in a random email by CustomMiniatureMaker.co.uk who run an email newsletter called Free Files Friday.  Seriously peeps if you aren't subscribed to this smorgasboard of STLs then you are missing out.  Join now at https://www.customminiaturemaker.co.uk and maybe even join their latest kickstarter campaign.

Blackjack Dreadnought Omni - Custom Miniature Maker

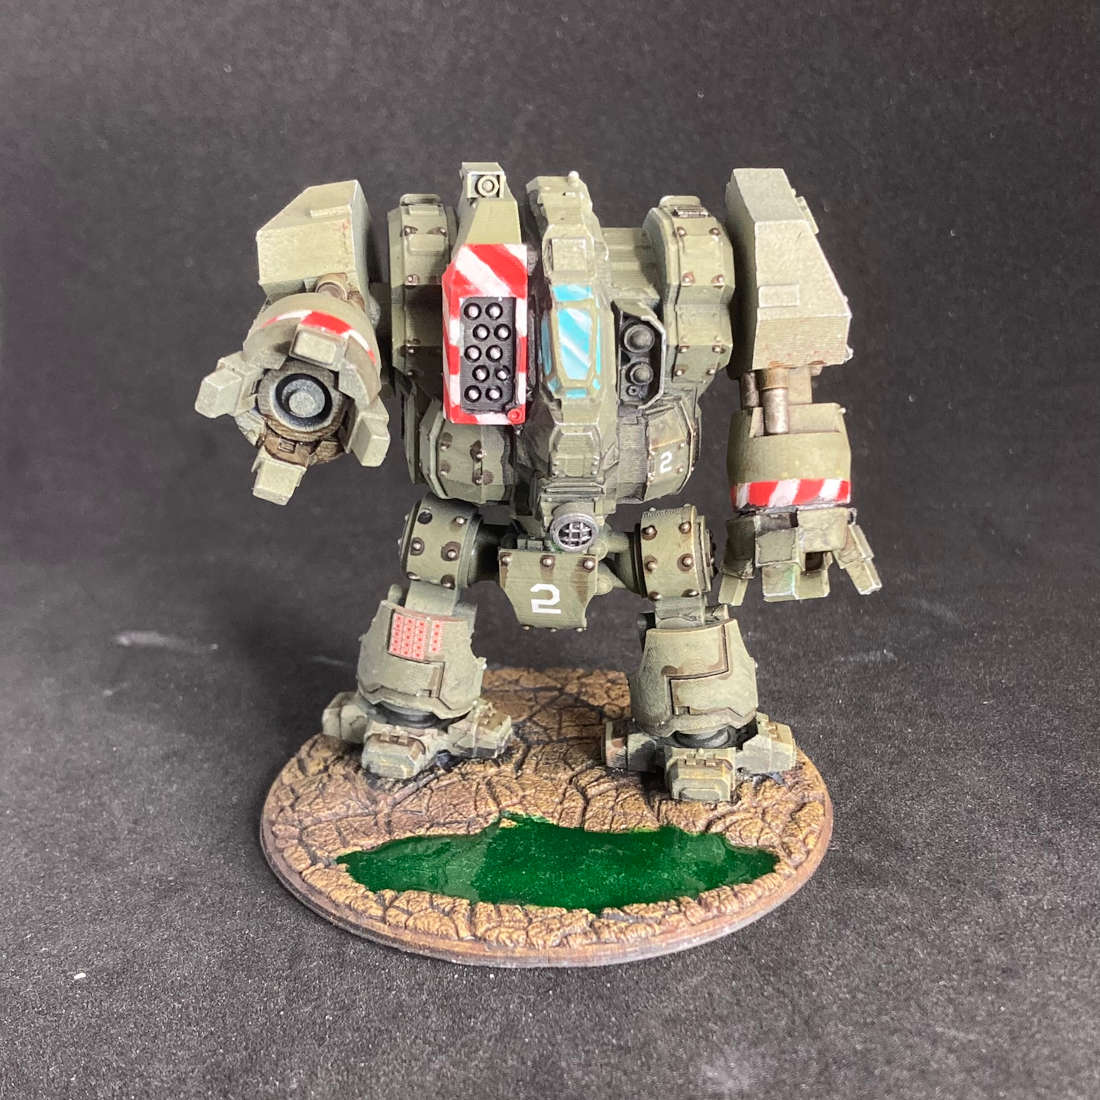
All the cool kids seem to be sticking it to the man (Games Workshop) these days with their "proxy" models for WH40K so I thought I's jump on the bandwagon.  I've always loved the chunky aesthetic of the WH40K vehicles and been a fan of the dreadnought's since the early days of Rogue Trader.

Blackjack Dreadnought Omni

This is a wicked model and has so many possible weapon options that I thought I would have a go at magnetising my loadouts (ooer sounds a bit rude!!).

Blackjack Dreadnought Missile Carrier

Goatman - Infernal Miniatures

For old skool gamers the Broo were the iconic bad guy minions of the Runequest franchise and I fancied printing me out this great double axe wielding bad boy.  Worth the download.

Goatman

Amazon Warrior - Artisan Guild

I've been hearing about these chaps and their patreon but I wanted to try out one of their files for myself.  It came unsupported but I put my new found support skills to good use and she came out a treat.  And lets face it, who doesn't like a bikini clad warrior woman?

Amazon Warrior

Slime Weird - My Mini Factory

In our last D&D game we ventured into the underdark and encountered a water weird which almost ripped our party to shreds.  This one is a slime varient and I love it's animated pose like it's trying to smother you.  

Slime Weird

Friday, 10 June 2022

Yoshi Yamamoto - Ex Sumo Wrestler and Foreign Correspondent

In Episode 18 of Jessie's Prints I printed of a couple of models which, as the Spice girls once sang...

Two Become One

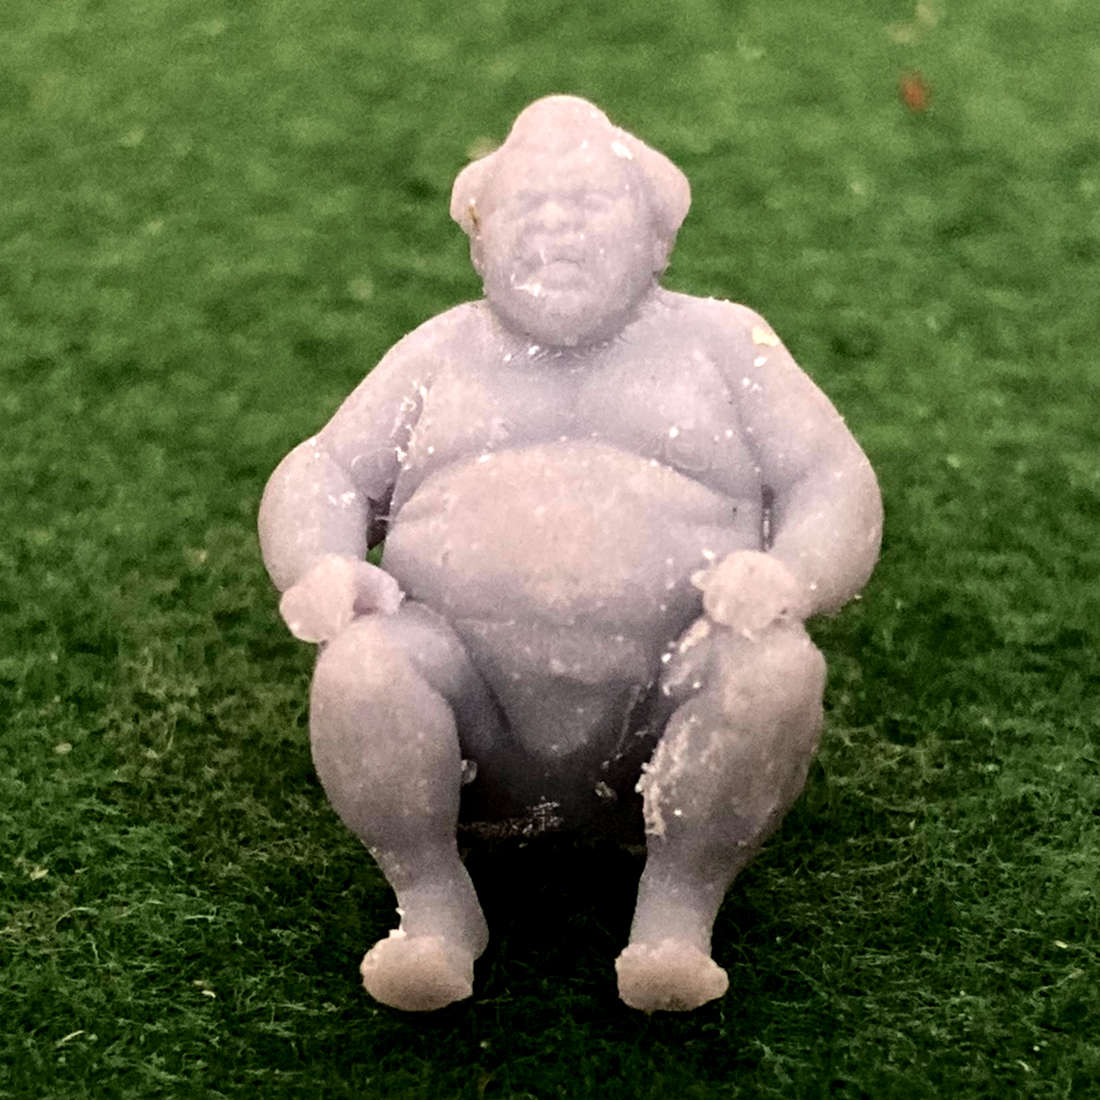
This is a head swap of a sumo wrestler onto the King Pin's body.  A perfect marriage IMHO for my next Cthulhu character.  Hai!!

Yoshi Yamamoto - Sumo Wrestling Journalist

This was another exercise in using the Army Painter Speedpaint over a zenithal highlight.  The suit about 4 layers of Gravelord Grey and the flesh tones are Crusader Skin with my usual blend of Army Painter Tanned Flesh and Vallejo White.  Black accents are Scalecolour Black.  The base is Speed Paint Hardened Leather with a light dry brush of a couple of other Army Painter browns.

Tuesday, 7 June 2022

Jessie's Prints - Episode 18 - I Need Supports

This week, I are mostly been learning how to add custom supports to unsupported STL files using Any Cubic Photon Workshop.

Suppprted minis
Rafts are essential to make the prints stick to the bed and not the FEP film
 

This is the slicer which came with my printer and has a somewhat frustrating interface.  The key things I learned were:

1. Always add a raft using the RAFTS tab in the Shape Edit window.  This is essential to help your minis to stick to the bed (Foot) of the printer and peel away from your FEP film.

2. For best results with tabletop mini prints set your supports to LIGHT this will allow you to get more supports in tighter spots.

3. Fill your model with auto generated supports and then add more manually.  You're gonna need them.


King Pin - Thingiverse 4140572 

There are a lot of marvel minis out there but very few free ones of King Pin.  I liked this one because he had a useful pose and body shape for my character mini in the game of Call of Cthulhu which begins next week at Dragons Keep Roleplay Club.

King Pin (Wilsopn Fisk)

Sumo - Sketchfab

To be honest I just needed the head for my character project.  I should probably have cut it apart in mesh mixer and blended it together with the King Pin but that's what superglue is for.

Sumo

Crouching Gargoyle - Thingiverse 3604340

This is a neat model and useful for both set decoration and as a monster in almost any game.  I printed a bunch to fill up the print bed and get the best value for money from my printer.

Crouching Gargoyle


Monday, 30 May 2022

Jessie's Prints - Episode 17 - Resin is the new Black!


This week, I are mostly been printing in resin thanks to me finally summing up the courage to dive deeply into this new technology and buy a resin 3D Printer.  My weapon of choice an Anycubic Photon Mono 4K

Anycubic Photon Cube - Thingiverse 213031

The first print should always be the supplied test print (or perhaps a Benchy) and it took 3 attempts to get this model to print.  Bed levelling or more accurately the distance between the bed and the FEP film appears to be critical when it comes to getting your print to stick to the bed and not the FEP.  I also found an article which recommends that you sand your bed to ensure that it is actually level in the first place.  The center of mine is slightly concave which must have been having an impact on the peelability.

Anycubic Photon Test Print Cube

This was actually the first resin model I ever saw printed, many years ago, and thought wow I will have to get me one of those someday...
Cute Mini Articulated Octopus

I have tried to print one of these before (much larger of course) on my FDM printer with little success.  I guess it has to do with the tolerances involved in squirting hot melted plastic out of a nozzle at 200 degrees celsius.  This one came out bloody lovely and is small enough that he fits on the end of a pencil. 

Sadly, the other models I had on the bed failed to print entirely.  I think this was down to the supports I added in the supplied Photon Workstation not having a thick enough platform to ensure that they made a solid connection to the bed and so they just stuck to the FEP.  I have subsequently read that you can spray your FEP with Teflon PTFE Dry Lubricant to make it slippery.  I will have to get some of that.  

Space Adventurer - Loot Studios Free Miniature

The whole reason for me buying this printer is to print high quality miniatures for tabletop roleplaying games and so I went in search of some presupported miniatures thinking that these would fare much better.  I found Loot Studios who do an excellent bundle for $15 a month.  As this was my first stab at this I plumped for their freebie Space Adventurer who is almost as cool as Oswald the Overladen.

Loot Studios - Space Adventurer

I downloaded the 32mm but scaled him down by 10% as I hate the GW scale and he only came out bloody lovely!!

Down loading this mini convinced me that the problem I am having with my unsupported minis is the crappy supports in the slicer software.  In the same way that I learned the tips and tricks of FDM printing, it will take time to master this new medium and its idiosyncracies.

I'll say this though.  Props to all the guys and girls out there that are busy modelling their own minis and going through the laborious task of adding supports.  They are an absolute must.
 
Next Mission is to paint this little chap and all his little gadgets.