Today I learned that the classic Anime Akira is 40 years old.
Thanks to Katsuhiro Otomo for bringing this groundbreaking work to life and making such an impression on me as a teenager.
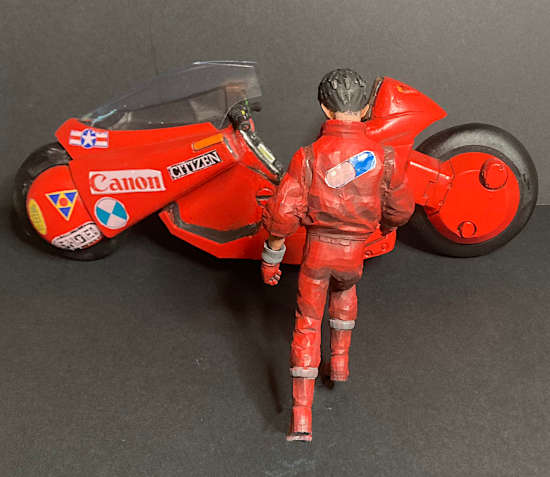
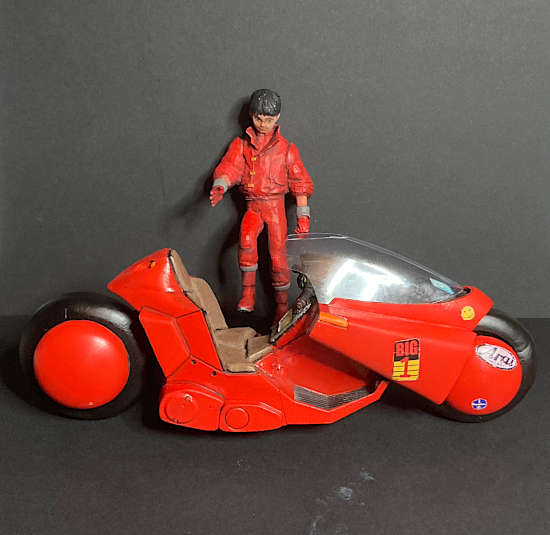
Fortuitously this coincided with the completion of my 3D Printed Kaneda Bike model which I began back in July not long after I got my resin printer..
Where can I download a 3D Akira Bike Model?
Well handily you can download this model from Thingiverse
Life is a Journey not a Destination
This is a big model meauring 9 inches long and 3.5 inches tall and Kaneda is 4.5 inches tall, so too big for my Photon Mono 4K. I had to slice each half of the bike using Meshmixer and in hindsight I should have hollowed it out because it used up a huge amount of resin.
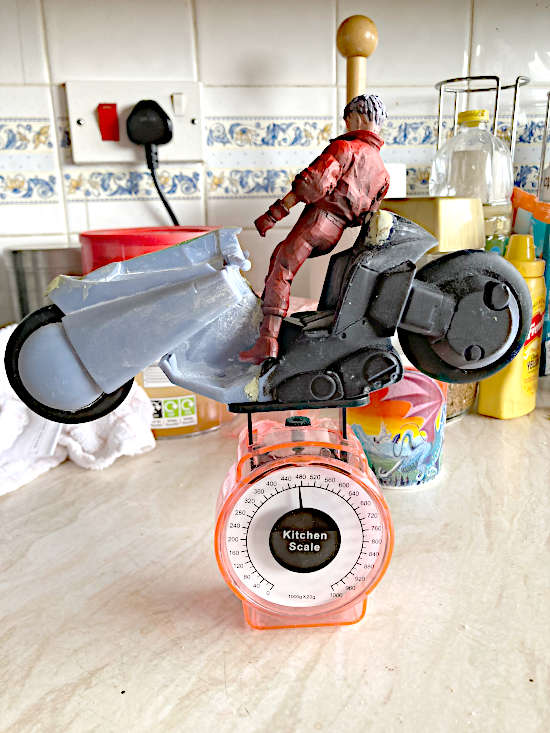
The sheer weight of the parts of the bike (480g) or the way I positioned it on the bed created some defects with tearing of the seat on the left side and the right rear tear drop and seat being mishappen.
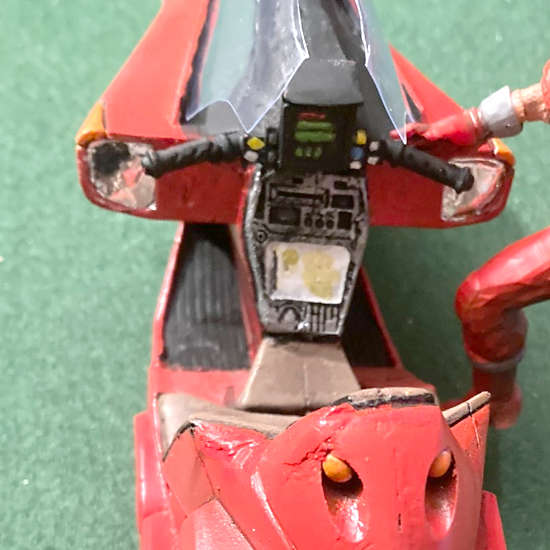
It was a major job to get it all aligned and fitting nicely and if I had my time again I would probably scale this model down a touch. I followed the glue-up with some milliput to gap fill and a lot of sanding. I decided to reslice the control panel as the misalignment of the join between the parts was just too much for me to bear and I'm glad I did.
Kaneda came out great on the first try but I had to reprint his right hand after the fingers broke off during painting. Kaneda is a bit low poly compared to the bike and I guess that few people bother to print the figure as a result. Rescaling may also fix this issue to some degree but I would definitely try to learn how to smooth out those facets in blender or meshmixer.
The Future is Clear
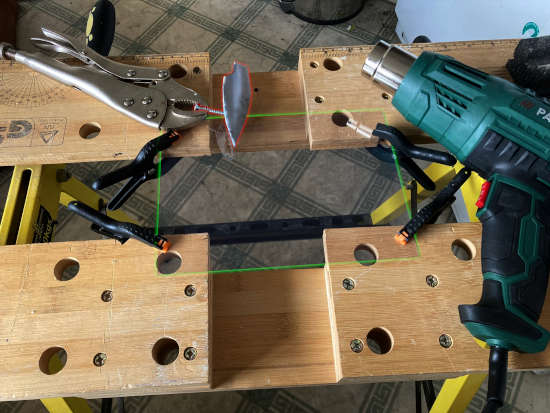
The next challenge was to make the canopy without the use of a vacuum former. I printed out the supplied canopy and then filled the inside with milliput. With a screw driven into the milliput I created a sort of buck (red) which I could hold with a pair of molegrips. I then clamped a piece of acetate (green) in my workbench and heated it up with a hot air gun (Thank you middle aisle at Aldi).
When the acetate was sufficiently hot and drooping I plunged the buck into the acetate. Overly dramatic? Perhaps, but this is seat of your pants modelling and, despite it being a completely sketchy process, it worked amazingly and I got a stunning result on only the second try.
It Ain't a Picasso
Painting was surprisingly pain free with the bulk of the work done with automotive rattle cans and plenty of masking tape. Touch ups were done by spraying the paint onto a card and then brushing onto the model. Surprising effective thanks to the self levelling nature of rattle can gloss paint.
Panel gaps were lined in dilute black acrylic and the detail work on the dashboard buttons and screens completed in short order.
Stickers or Decals?
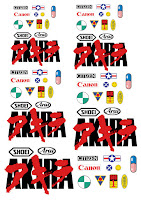
IMHO an Akira bike without decals looks wrong so I scoured the internet to find decent images, harder than you might think, purchased some white decal paper. You won't believe the hours I spent deciding if I would go with the poster version solo pill logo or the "Good for Health Bad for Education" roundel version for Kaneda's back patch. I borrowed a laser printer (thanks Paul) and printed up a sheet.
What a nightmare!!! The laser copier couldn't cope with the decal paper and it made a right mess. I briefly contemplated printing out a set on sticker paper, my rational being that in-universe these are actually stickers applied by Kaneda himself. I persevered and managed to cobble together a set I was reasonable happy with.
The process of application was also troublesome with some of the toner coming off and the decals wrapping back on themselves. If anyone has tips on making your own decals please pop a comment in the box below. If you want to download the Akira Bike decals please feel free.
Final Touches
I scratchbuilt a headlight lens from plasticard and the indicators got a lick of paint. Necessity is the mother of invention and, when it came to the mirrors, I turned to the foil inside a crisp (chip) bag. Yes, trash went into the making of this model.
I'm pretty pleased with the end result especially given that this is the first really big model I've scratchbuilt. There are some things I would do differently like creating two decals for the dashboard. There are somethings I might go back and fix like adding some neon piping around the tyres. It's never ending really, but for now (at least) I have stuck a fork in this project, I'm done.
With all modelling it's less about the finished article and more about what you learned and how you stretched yourself along the journey. Please feel free to share links to your own modelling stories in the comments below.



No comments:
Post a Comment