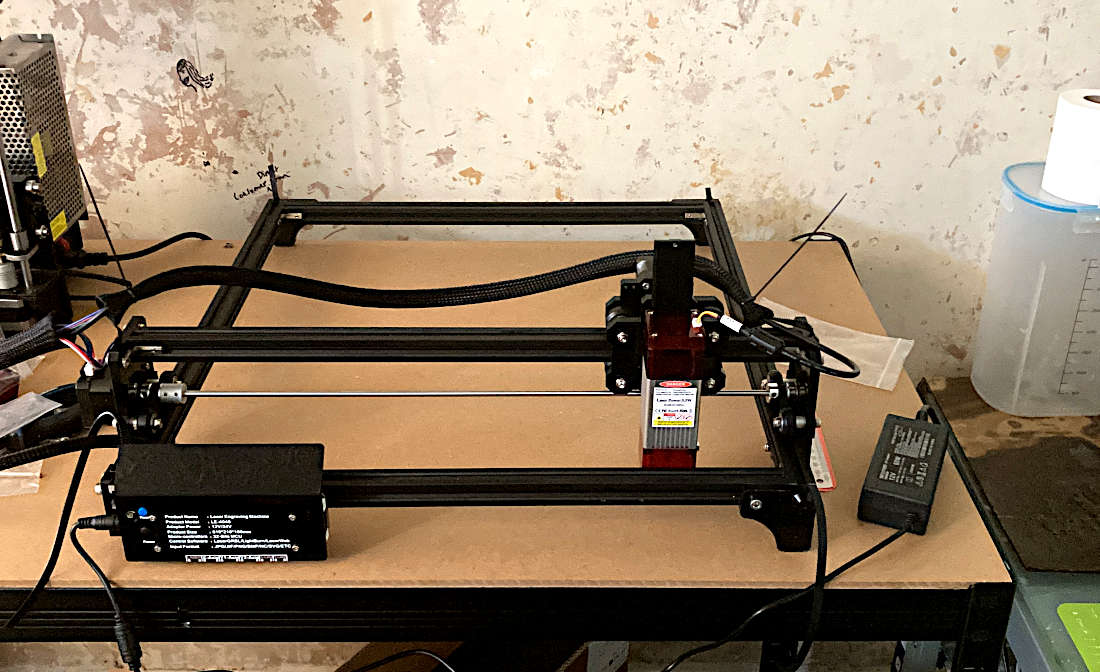
Well payday came and went and not long after a new tool arrived in my workshop.
A Cheap Laser Cutter / Engraver
There are just some jobs when you need a tool like this (or have lots of skill and patience). That one job was making a custom enclosure for a secret project I have yet to reveal out of acrylic sheet.
I'm reasonably handy, but when it comes to transparent sheet materials, you have to be super careful otherwise you will end up scratching or gouging the delicate finish.
I bought this one off ebay and it needed to be able to do a few things
- Cut A4 sheets - my stock is A4 (210 x 297 mm) so having a largish envelope was key.
- Cut Plexiglass - a little bit of research showed that a 5W Laser should be capable of this
The one I ended up buying from eBay was the:
5.5W Actual Output Laser Engraver Machine For DIY Engraving Cutting 40x40cm
Assembly
This was my first experience assembling Aluminium extrusion and frankly I am gobsmacked at the ingenuity of this stuff. It seriously is the Lego of mechanical engineering. The instructions were pretty clear although they could have done with a bit better photos showing the orientation of the relevant parts.
As long as you are pretty good with IKEA furniture this will be a relatively stress-free exercise and the total build time was less than one hour.
My only issue came with the routing of the cables and the complete lack of instructions regarding zip ties and cable management. They have pretty much thought of everything though and as long as you follow the labels on each connector it is pretty logical where everything goes. After all, we aren't wiring a 1974 RA 21 Toyota Celica with a 2005 2UZ V8 from a Tundra (Seriously if you aren't watching Sarah-n-Tuned what are you doing with your life).
Software Installation
The nice eBay seller sent me a message with a QR code for the software download. Installation was a breeze and after a little bit of reading of the help pages I was connected and ready to go.
Lots of Problems
I ran the cutter power test which seemed to go okay although there was a lot of burning around the edges. After loading up a picture, I went through the basic interface and set the printer going. Immediately I had an alarm and couldn't work out what had stopped the printer.
After another set of tries and different images and more alarms I gave up.
2 Weeks Later...
Sometimes it is better to sleep on a thing and after 2 weeks of sleeping on it I summed up the courage to have another go.
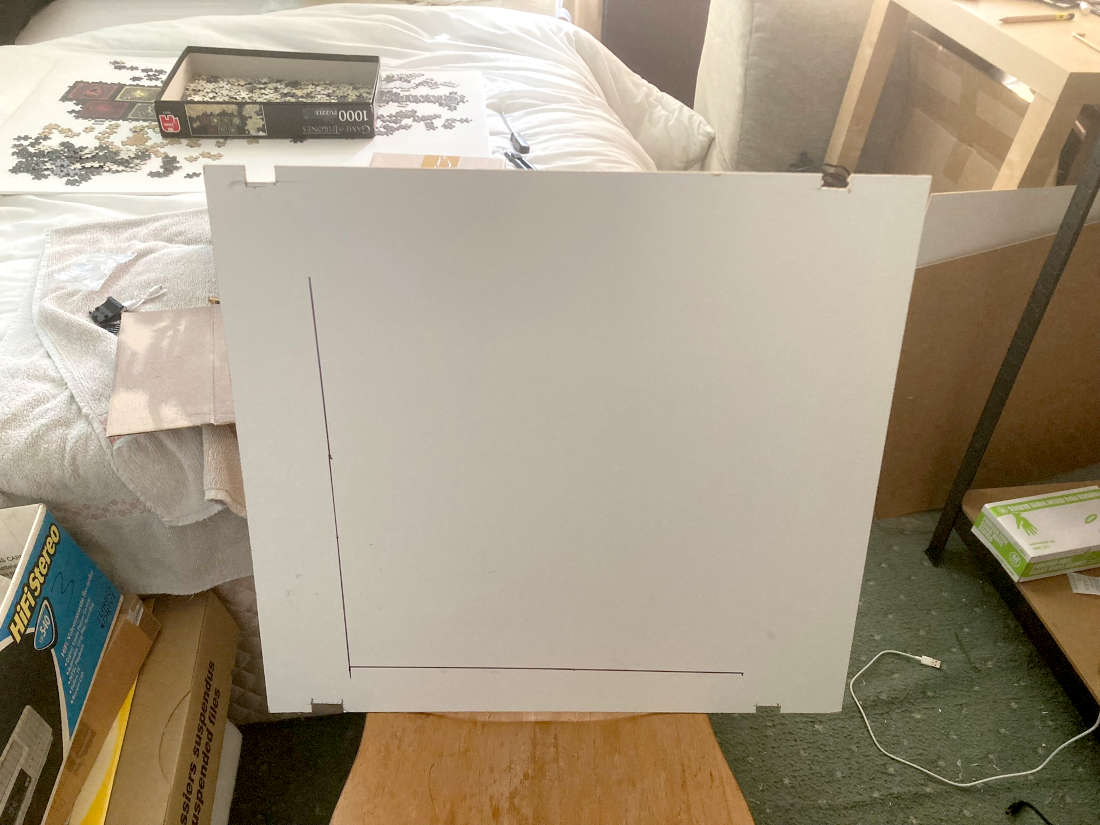
The first thing I wanted to do was build a baseboard to keep the cutter square and in place on my workbench. This was quickly fashioned from a piece of white laminate hardboard. I made little cutouts for the 4 printer feet to lock into.
I then homed the cutter and using the "flash" button I marked the home position I then manually moved the head to the furthest X position and flashed the laser again marking this position. Homing the printer made all sorts of noise, I guess that it doesn't like its stepper motors being back driven but unlike my 3D Printer there is no option to disable the steppers.
I decided to use the Jog feature to send the head North along the Y axis but after about 5 or 6 Jogs it threw another alarm. I flashed the laser and marked this point. Connecting all the dots gave me a rudimentary XY scale and origin point about which I can set some guides snd be a little bit more confident in where my images are going to appear.
X Y Offset
It seemed like when the image uploaded into the cutter workspace it was centered on the origin and the first thing the cutter wanted to do was travel West and South beyong the cutter's Home position.
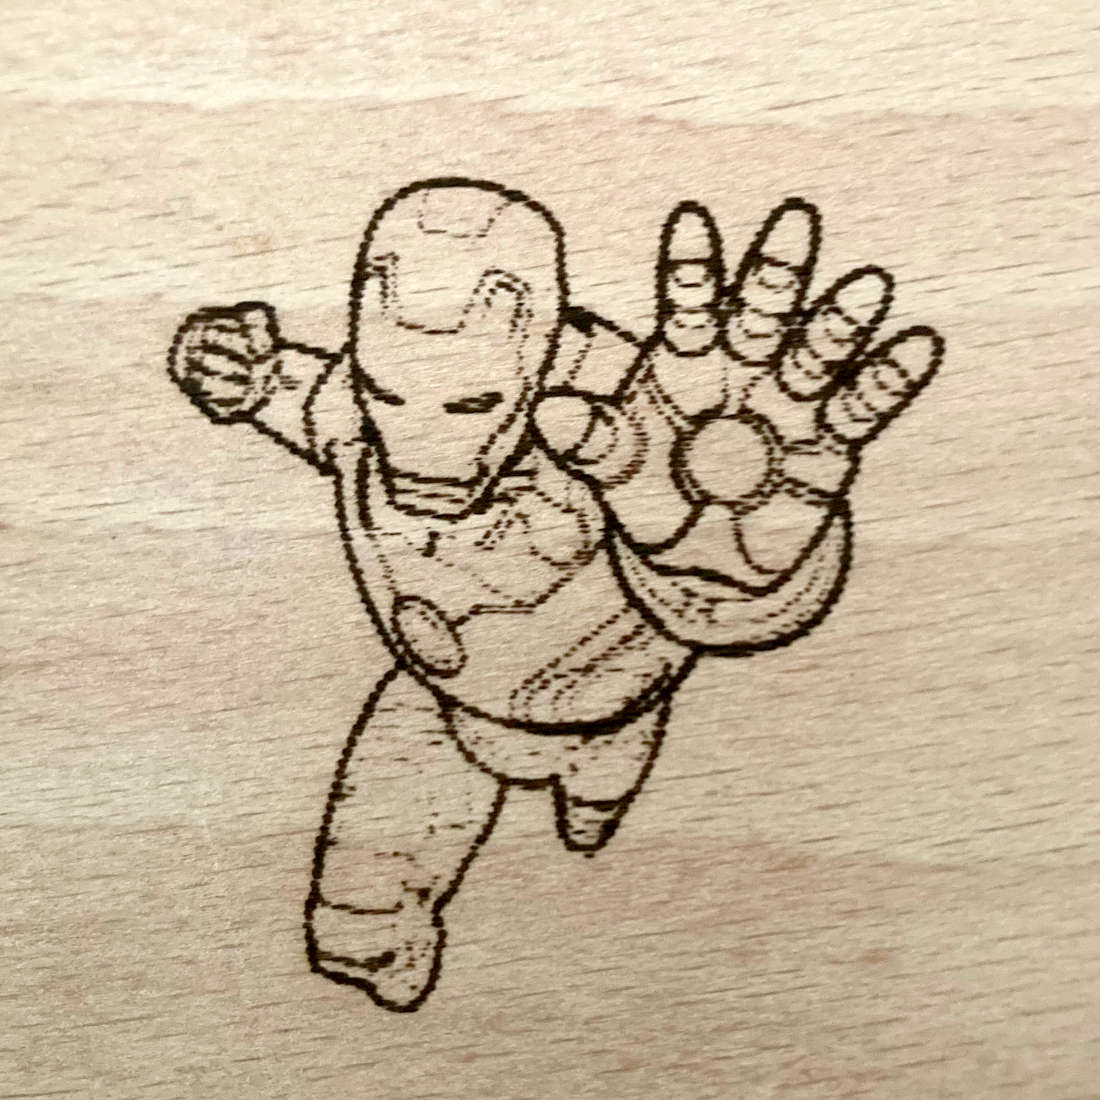
Eventually I discovered that in the import / resize dialogue there are some offset commands. These were bizarrely set to -43 in both axis. Resetting these to +20 in each axis and hey presto my laser moved and burned my first image... Tony Stark!
Next Projects
I really want to be able to quickly locate stock at the origin and be able to judge the offset when importing my art, so making an L-shaped scale is high on the agenda.
I also want to create a detachable shelf for the workbench as this particular model requires a laptop to be connected at all times. amd I just dont have anywhere nice to put the laptop at the moment.
Watch this space.


No comments:
Post a Comment